
Navigation
Random Favorite Product
Hydraulic Press
Life is short. Buy this press. Dont build your own like I did Here
Advertisers
1968 Corvette
Bushings and Control Arm Shaft Installation
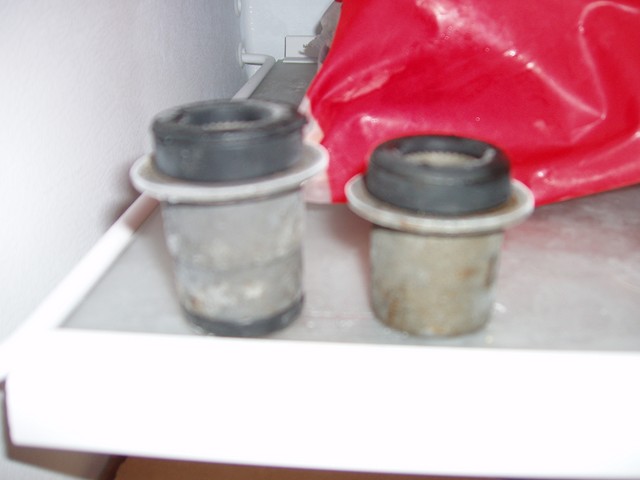
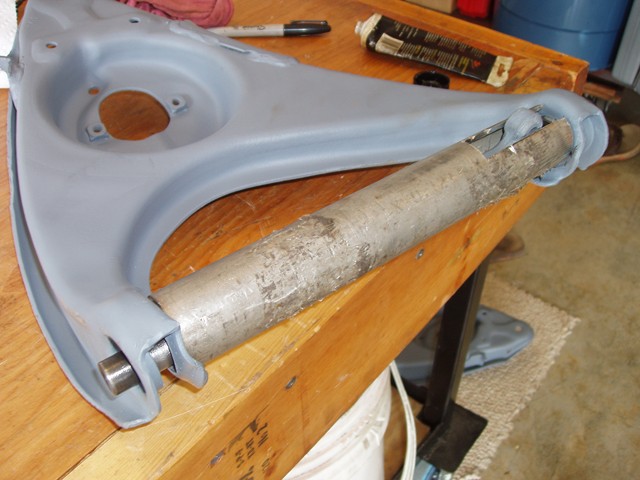
Before painting, I installed the bushings in the top and bottom A-arms. To make the installation easier, I put the bushings in the freezer for 24 hours so that the rubber would contract. The taller bushings are for the lower control arm and the shorter ones are for the upper control arms.
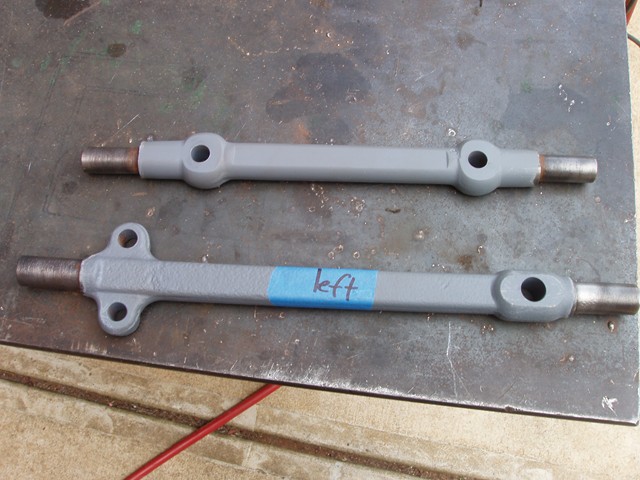
For this job I used two tools: a hydraulic press and a modified metal pipe to prevent the control arms from bending inward. For the lower control arms, the pipe had to be 12 inches long by 1 ¾ inches wide and have two openings for the control arm shaft to slide into. I ran short on metal so once I was done putting the lower control arms together, I cut the brace to 11 ¼ to fit the upper control arm.

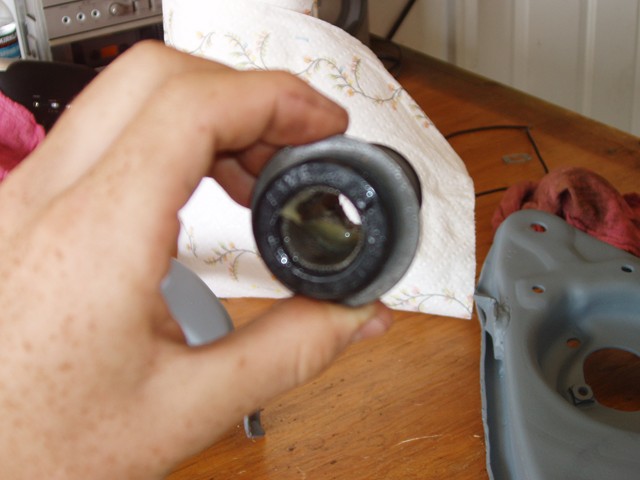
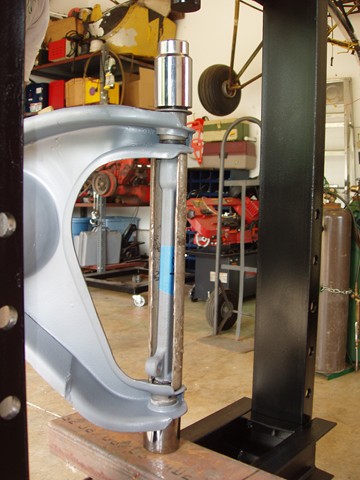
Before installing the bushing, I rubbed some lithium grease to prevent squeaking and make installation easier.
Next I installed one of the bushings using a socket to push against the metal part of the bushing with my homemade hydraulic press.
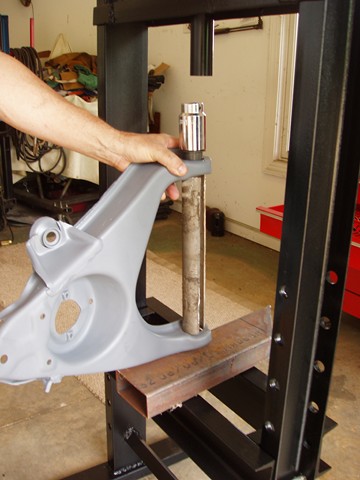
I placed the control arm shaft in making sure that the part with the two mounting holes was closest to the front of the car.
Now that the shaft is in place, I placed a socket on the bottom to protect the rubber and used another socket to push the top bushing.
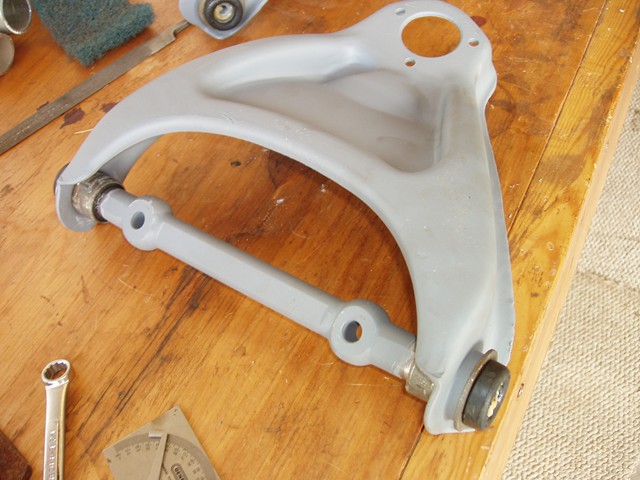
Once the lower control arms are assembled, I cut the bar around an inch shorter to accommodate the smaller gap of the upper control arms and repeated the steps I took to assemble the lower control arms.
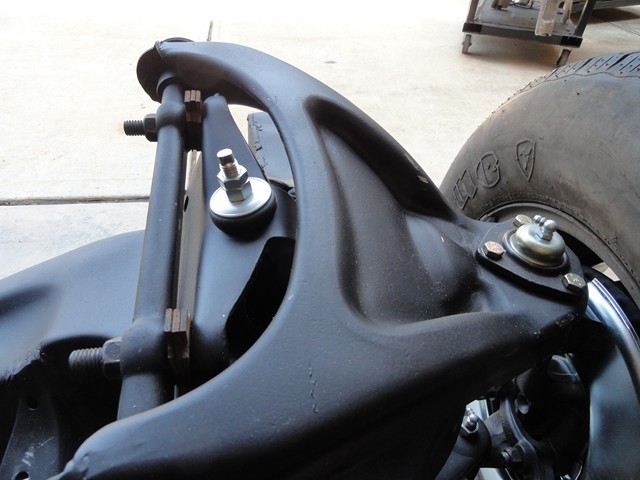
Once the control arms are painted, the last thing to do before reassembling the front suspension is attach the ball joints. Since I have already drilled out the holes on the upper a-arm to accommodate for the larger bolts that come in most kits, it should assemble without any problems. With the three bolts installed, I torque them to 20 ft-lbs. The lower control was also torque to 20 ft-lbs with the exception of the jam nut on the stem of the ball joint which was torque to 25 ft-torque. Unfortunately, I didn't get a good picture while I had it off the car, so I had to add this one in the article later on in the restoration project.
Next I will start the front suspension assembly.
Have a Question About This Article? Ask It Here!